

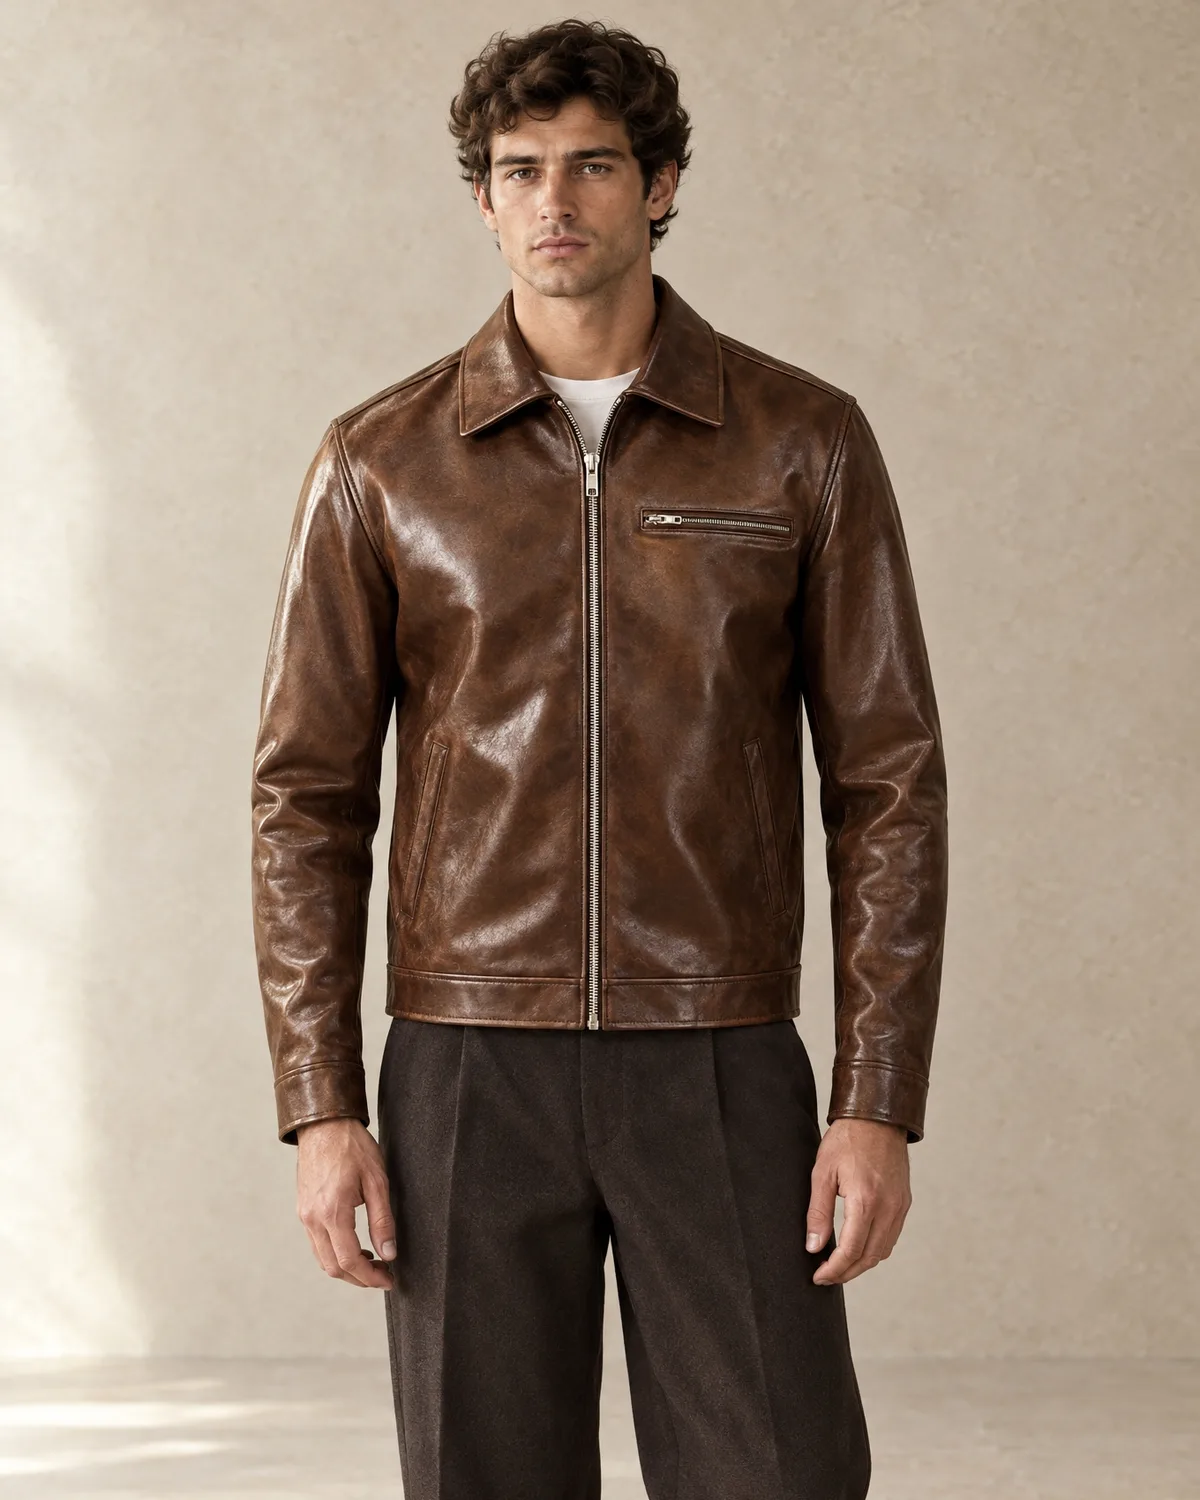
A tech pack is the document that turns your idea into something a factory can build. For a leather jacket it matters even more than for a cotton shirt, because leather cannot be recut cheaply and every decision about leather, hardware and pattern has a visible result. This guide shows how to write a tech pack for a leather jacket, section by section.
What a tech pack is for
A tech pack is a shared reference. It tells the manufacturer exactly what to make, and it tells you what to check when the sample arrives. A clear pack reduces sample rounds, avoids misunderstandings and protects your design. If you have never written one, start with our general guide to preparing a tech pack and use the free jeans tech pack template as a model for structure.
Section 1: Cover page
Include the style name, style number, season, size range, colourways and the date of the pack. Add a version number and update it every time you change something. Version control prevents the common problem of two people working from different files.
Section 2: Technical flats
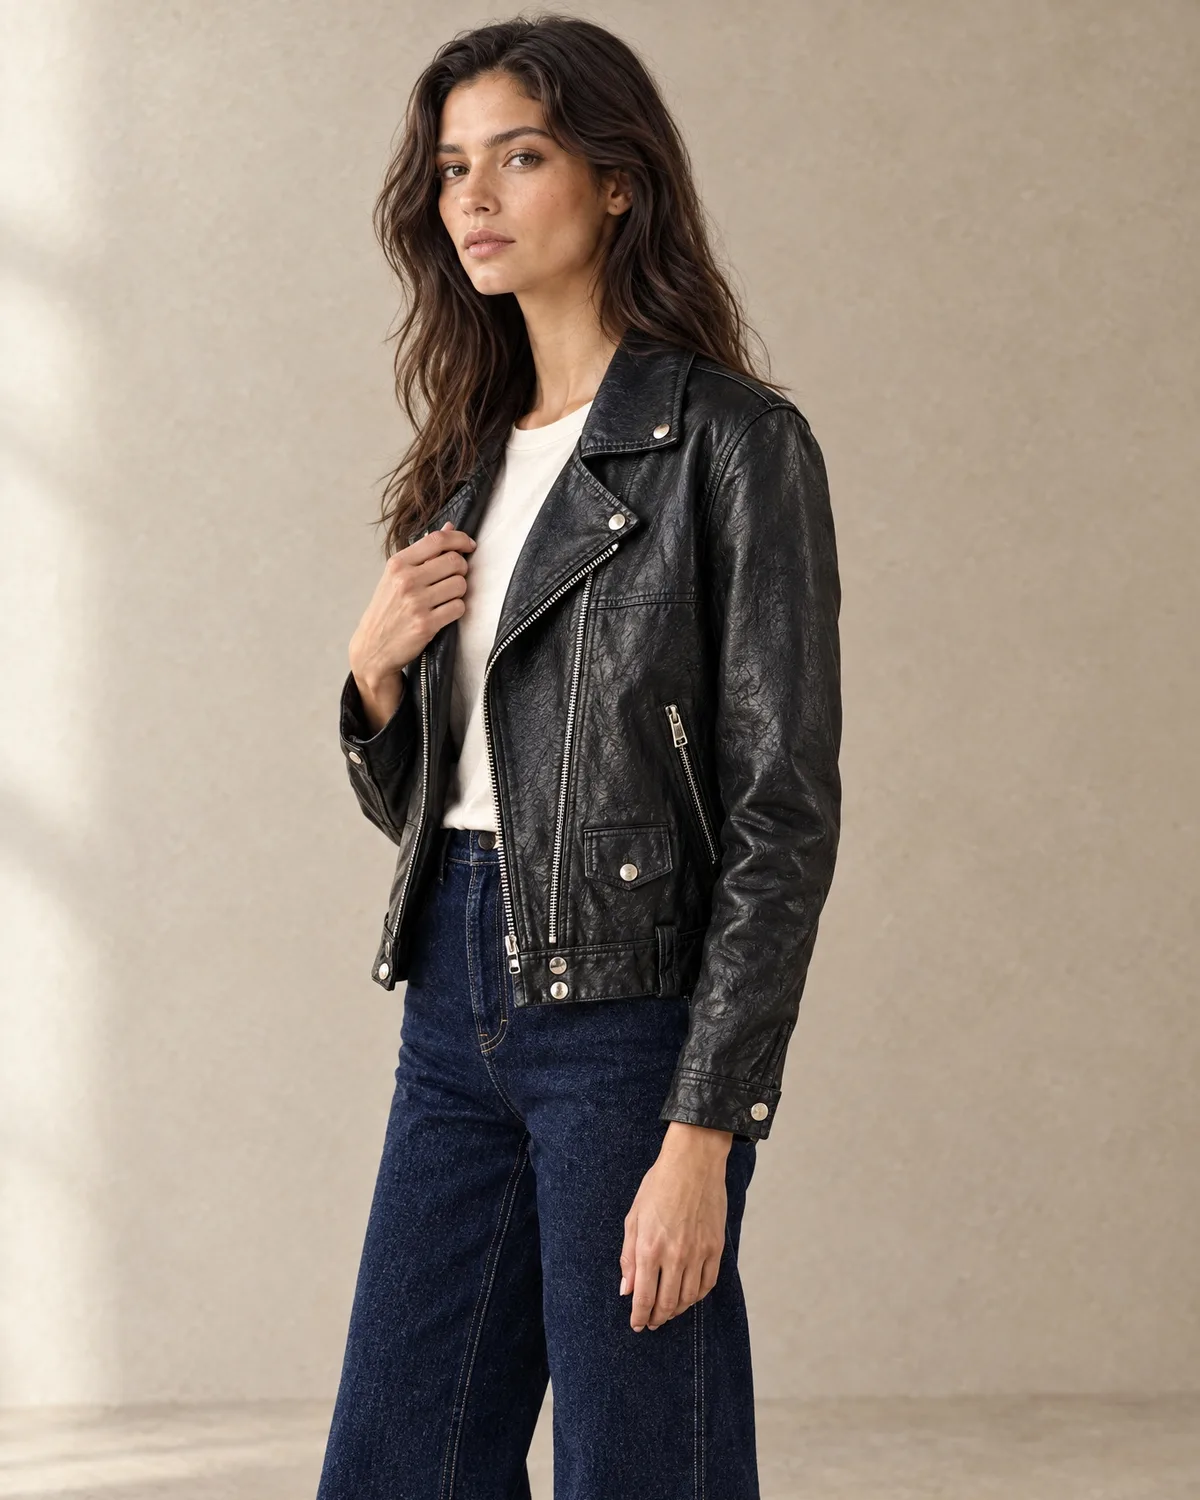
Flats are clean line drawings of the jacket from the front, back and side, and sometimes the inside. They show seams, pockets, collar shape, zip position and stitching lines. Draw them to proportion rather than as artistic sketches. Add callouts that point to key details, such as “snap collar” or “zipped cuff”.
Detail views
Add close-up drawings for areas that are hard to read: the collar, pocket construction, vent, cuff zips and any quilting or panel lines. A small drawing prevents a long email.
Section 3: Bill of materials
List every component, with a description, supplier or spec, colour and placement. For a leather jacket the bill of materials usually includes:
- Main leather: type, thickness, finish and colour
- Lining: material, weight and colour
- Interlining or padding, if any
- Zips: type, size, tape colour and pull design
- Snaps, rivets, buckles or studs: finish and size
- Thread: type and colour for main seams and topstitching
- Labels: woven, care and size labels, and hang tags
Our guide to leather types and the materials library help you choose. Confirm the leather in writing at quotation.
Section 4: Measurements
A measurement table lists the points of measure for each size, with tolerances. Typical points for a jacket include chest, waist, hem, shoulder width, sleeve length, bicep, cuff opening, back length and collar height. Mark how each is measured so there is no confusion. Include your base size and the grading increments between sizes. Our size chart and grading guide explains grading in more detail.
Section 5: Construction details
Describe how the jacket is put together:
- Seam types and stitch density
- Topstitching positions and thread colour
- Edge finishing, such as folded, painted or bound edges
- Reinforcement at stress points, such as pocket corners and zip ends
- Lining attachment and hem finish
Be specific, for example “topstitch 6 mm from edge, contrast thread”. Vague notes produce guesses.
Section 6: Hardware and trims
Show every hardware item with a picture or reference and the exact finish. Note where it is placed and how it is attached. If you want branded hardware, supply artwork. Our hardware and trims guide lists the options.
Section 7: Labels and packaging
Show where each label sits and how it is attached. Include artwork for woven labels and hang tags. Describe the packing method: folded or hung, in polybags, dust bags or boxes. Read branding and packaging for options.
Section 8: Colourways and finishes
List each colour with a reference, and describe the finish, such as matte, glossy, waxed or distressed. Colour should be confirmed on the physical sample, so note that you will approve it under daylight. Add reference photos of the look you want.
Section 9: Quality notes and tolerances
State what you will check on the sample and in production: measurements within tolerance, symmetrical pockets, working zips, no marks on the leather and consistent colour. These notes become your acceptance checklist.
Common mistakes
- Missing measurement tolerances
- Unspecified leather thickness or finish
- No zip or hardware details
- Flats that are not to scale
- Several versions of the pack in circulation
What if you do not have a full pack
Many founders begin with a sketch or a reference jacket. We can start from either, and our custom development process helps turn them into a pattern and a first sample. You will approve a paid sample before bulk.
One more tip
Add a short “do not” list to the last page, for example “no visible glue marks” or “zip must not catch the lining”. Notes like these turn a sample review into a quick checklist.
Send your pack
When your pack is ready, request a quote and attach it. We will confirm the spec, quote the order and start your sample. See the styles we make in leather jackets and outerwear.