
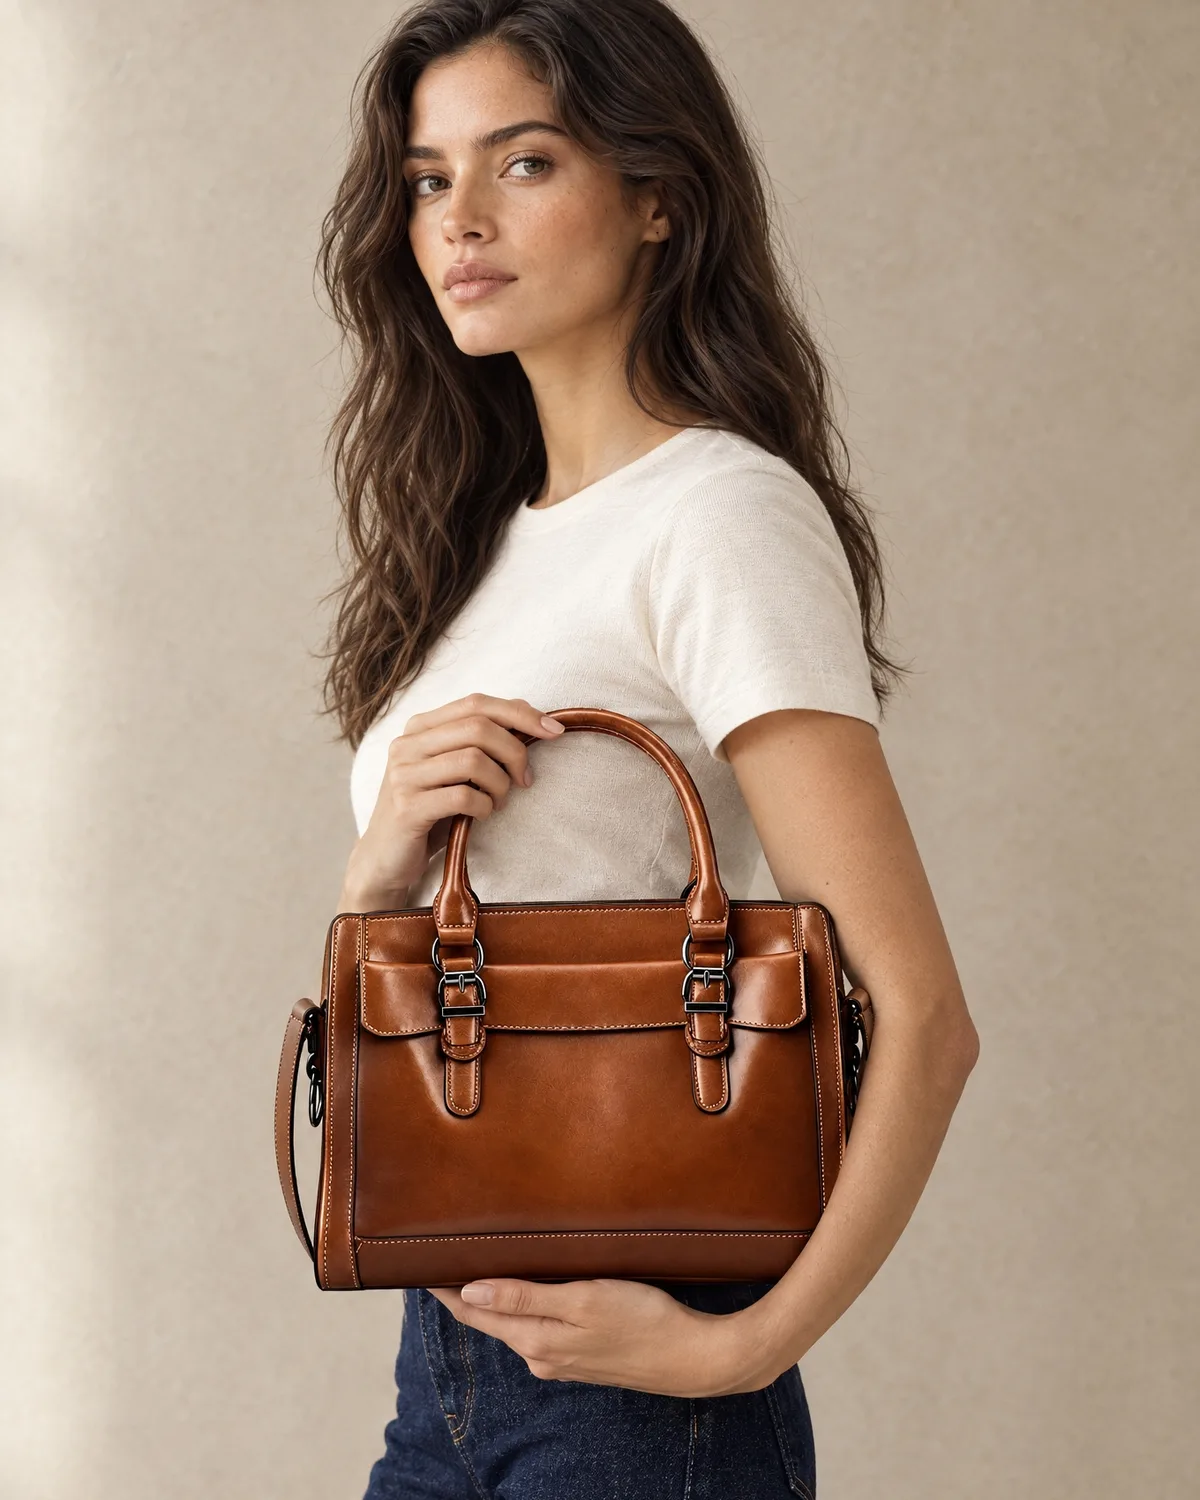

Handbags are one of the most rewarding leather categories and one of the most detailed. A single bag can have twenty components, from straps and zips to linings and interior pockets. Starting small keeps your risk contained while you learn what your customers want. This guide shows how to plan a leather handbag line in small batches, step by step.
Step 1: Decide who the bag is for
Before you choose a style, choose a customer. A structured work tote, a crossbody for travel and a compact evening bag all need different leather, hardware and capacity. Write one sentence describing the person and the moment they use the bag. That sentence guides every later decision: size, weight, closures and price position.
Step 2: Choose two or three styles, not ten
New labels often try to launch a full collection. A tighter start works better. Pick two or three bag types that share materials and hardware. For example, a handbag, a crossbody and a small pouch can all use the same leather and zips, which simplifies sourcing and keeps the line cohesive. See the styles we make: handbags, crossbody bags, messenger bags, backpacks and briefcases.
Step 3: Pick the leather
Leather decides the bag’s structure and how it ages.
- **Cowhide** holds shape and suits structured totes and briefcases.
- **Lambskin** is soft and suits slouchy or evening styles, but is less structured.
- **Goatskin** gives a pebbled grain and strength at lower weight.
Read the materials library and the guide on leather grades before you decide. Ask for the type, thickness and finish to be confirmed in your quotation.
Step 4: Plan the hardware
Hardware is where bags look premium or cheap. Decide on zips, buckles, rings, studs and feet, and specify the finish such as brass, nickel or matte black. Keep a consistent hardware family across the line. Check that every moving part works smoothly on the sample, because hardware that sticks or snags is the most common complaint in finished bags. Our hardware and trims page lists what you can specify.
Step 5: Design the inside
Linings, pockets and dividers are what customers use every day. Decide on lining material and colour, how many interior pockets you want, and whether there is a zipped compartment. A contrasting lining colour is a low-cost way to make a bag feel special. Include these details in your sketch or tech pack.
Step 6: Prepare a spec the factory can follow
Bring a sketch, a tech pack or a reference bag. A good spec includes front, back and side views, dimensions, materials, hardware, stitching details and label positions. Our guide to preparing a tech pack shows the structure, and our custom development process turns a sketch into a pattern and sample if you do not have a full pack yet.
What to include for a bag
- Overall height, width and depth, plus strap length and drop
- Panel shapes and how they join
- Reinforcement points such as strap anchors and base
- Edge finish, for example painted or folded edges
- Label and logo positions
Step 7: Approve a sample before bulk
The first sample rarely needs zero changes, and that is normal. Check dimensions, balance, how it carries when full, the feel of the handles and every closure. Request changes in writing. When you are happy, sign off the sample. In our process, bulk starts only after you approve it. Use the sample approval checklist to stay consistent.
Step 8: Size your first order sensibly
A minimum of 50 pieces per style lets you order a few of each bag and test the market. Spread quantities across colours or styles instead of putting everything into one. Learn which bag your customers reach for, then reorder it. The article on what affects product pricing explains how quantity and spec influence your costs without quoting numbers.
Step 9: Brand and package it
Your logo, label and packaging make the bag yours. Specify how logos are applied, such as embossing, hot foil or a metal plate, and how bags are packed, for example in dust bags and cartons. Details of what we can do are on our branding and packaging page.
Step 10: Plan photos and launch
Bags photograph well, but only if the finished product matches the sample. QC photos and video before shipping let you confirm the work and check for marks or loose threads. Plan product photography for when stock arrives, and write descriptions that mention leather type, dimensions and hardware.
Start your handbag line
If you are ready to begin, send your sketch, tech pack or reference bag. We make leather bags from 50 pieces per style, develop a paid sample you approve before bulk, and ship to the USA, UK, EU, Canada, Australia and beyond. Request a quote to get started.